
Wyoming WIC

Pumping and Storing Your Milk

Pumping and Storing Your Milk QR Code

It can be helpful to know how to pump and store your milk. If you are unable to feed your baby at the breast, it is important to remove milk to tell your body to make milk.
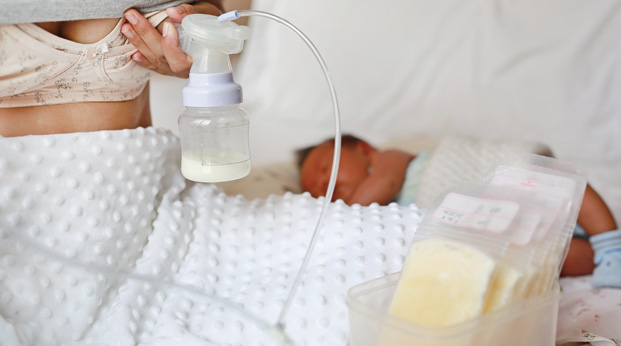
Human Milk Hand Pump

Ways To Express Your Milk by Hand or Pump

Click below to learn more about the different ways to express milk.
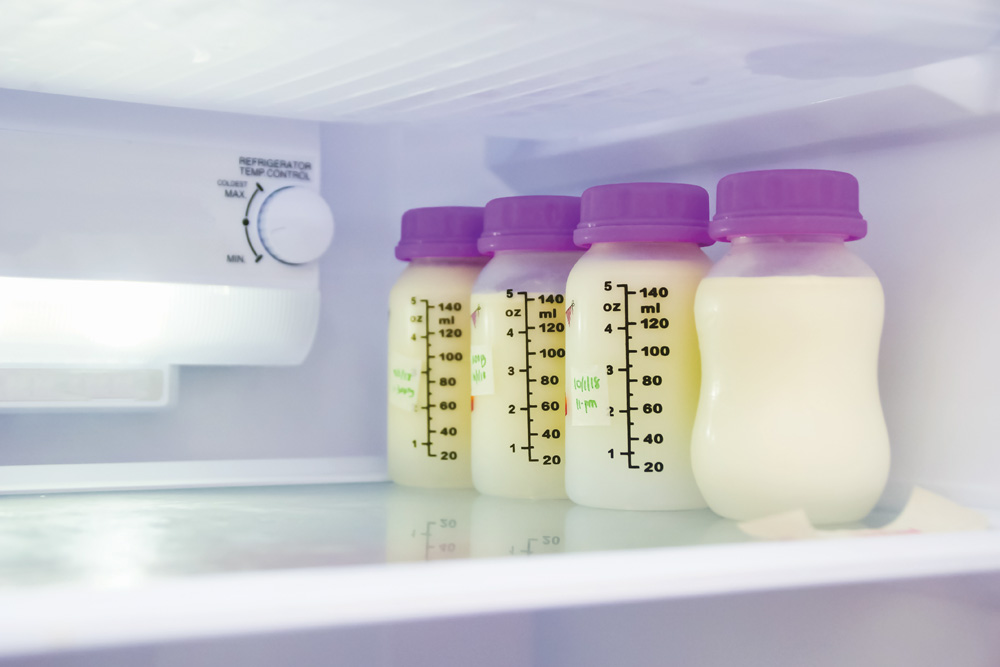
Milk storage bottles

Storing Your Milk

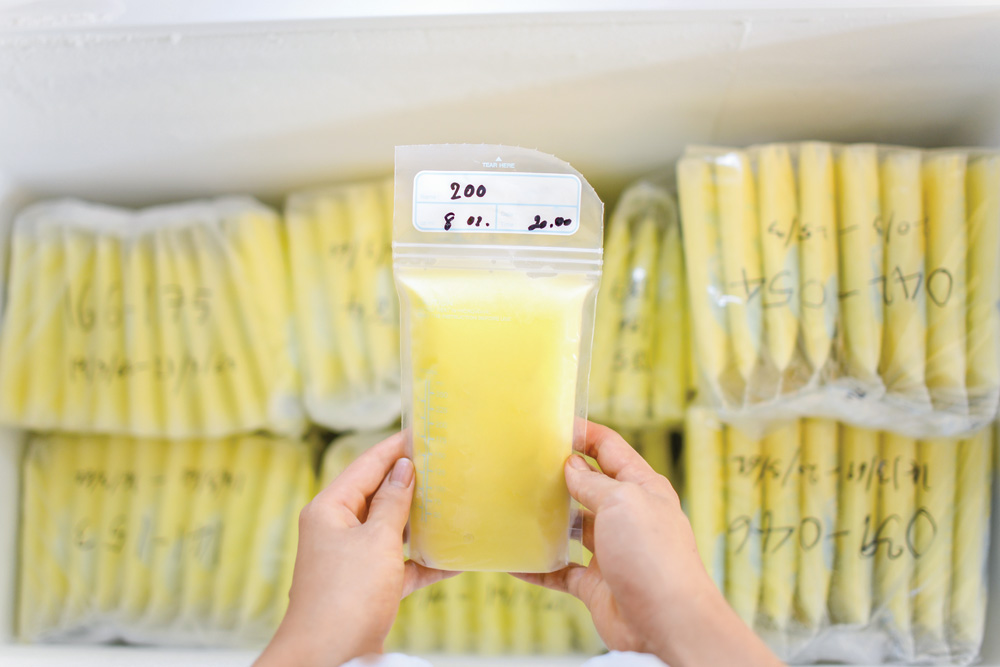
Human milk can be stored in:

*Never store human milk in disposable bottle liners or plastic bags that are not intended for storing human milk.

Storage Location and Temperatures


Up to 4 Hours


1-2 Hours


Use within 2 hours after baby starts feeding. After 2 hours, leftover human milk should be discarded.

Up to 4 Days


Up to 24 hours


Use within 2 hours after baby starts feeding. After 2 hours, leftover human milk should be discarded.


Within 6 months is best.
Up to 12 months is acceptable.


NEVER refreeze human milk after it has been thawed.


Use within 2 hours after baby starts feeding. After 2 hours, leftover human milk should be discarded.

Wash your hands with soap and water

Before Expressing or Handling Human Milk

AFTER EACH PUMPING

AFTER EACH PUMPING

Tips For Freezing Milk

Tips For Thawing and Warming Milk

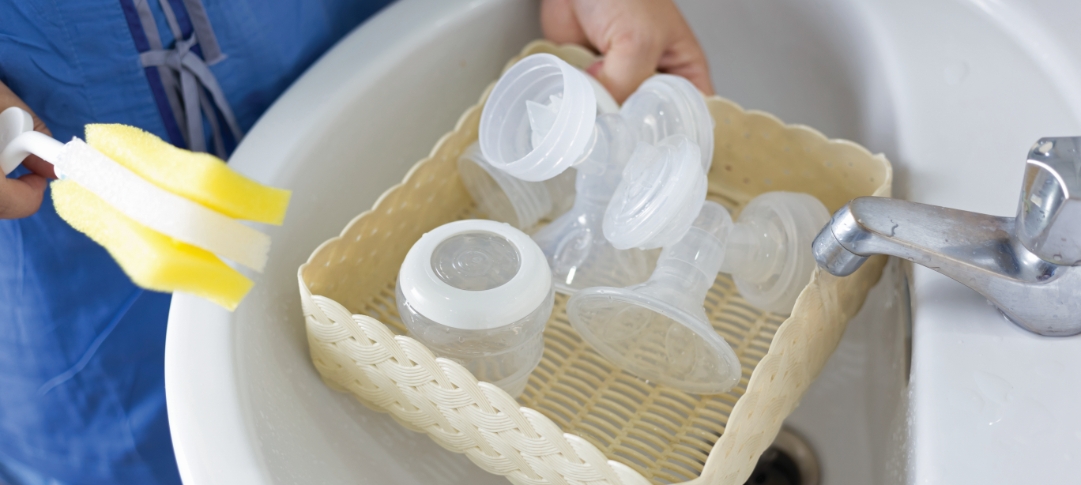
Safely Clean Pump Equipment

Sanitize for added safety:

Sanitize pump parts, wash basin, and bottle brush at least once daily after they have been cleaned. Items can be sanitized using steam, boiling water, or a dishwasher with a sanitize setting.

Sanitizing is very important if your baby is less than 3 months old, was born prematurely, or has a weakened immune system due to illness or medical treatment.

Install this web app on your iPhone: tap and then Add to Home Screen.

hand-exprestion

HAND EXPRESSION

How it works

Using clean hands, cup your breast using a c-hold (as pictured) but not touching your areola. Press your fingers firmly back towards your chest. Next, compress your hand while moving it back towards your nipple without lifting your hand from your breast. Repeat and try different positions on your breasts so you can get milk out of different milk ducts.

What’s Involved

Average Cost

Free
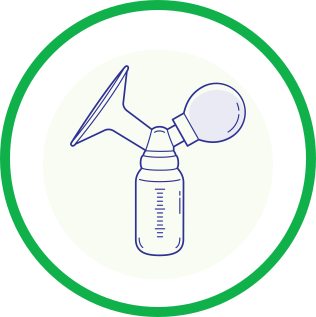
MANUAL PUMP

How it works

Use your hand and wrist to operate a hand-held device to pump the milk.

What’s Involved

Average Cost

$30 to $50 (may be covered by insurance)

electric-breast-pump

ELECTRIC BREAST PUMP

How it works

Runs on battery or plugs into an electrical outlet.

What’s Involved

Average Cost

$150 to more than $250 (often covered by insurance)
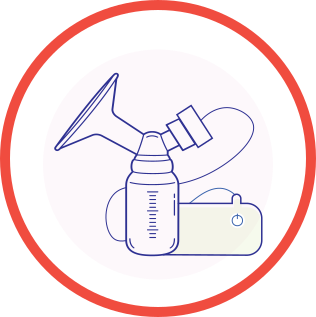
Electric Breast Pump

ELECTRIC BREAST PUMP

How it works

Runs on battery or plugs into an electrical outlet.

What’s Involved

Average Cost

$150 to more than $250 (often covered by insurance)

hand_expression

HAND EXPRESSION

How it works

Using clean hands, cup your breast using a c-hold (as pictured) but not touching your areola. Press your fingers firmly back towards your chest. Next, compress your hand while moving it back towards your nipple without lifting your hand from your breast. Repeat and try different positions on your breasts so you can get milk out of different milk ducts.

What’s Involved

Average Cost

Free

manual pump

MANUAL PUMP

How it works

Use your hand and wrist to operate a hand-held device to pump the milk.

What’s Involved

Average Cost

$30 to $50 (may be covered by insurance)

CROSS-CRADLE HOLD

Cross-Cradle Hold

  1. For the right breast, use your left arm to hold your baby’s head at your right breast and baby’s body toward your left side. A pillow across your lap can help support your left arm.
  2. Gently place your left hand behind your baby’s ears and neck, with your thumb and index finger behind each ear and your palm between baby’s shoulder blades. Turn your baby’s body toward yours so your tummies are touching.
  3. Hold your breast as if you are squeezing a sandwich. To protect your back, avoid leaning down to your baby. Instead, bring your baby to you.
  4. As your baby’s mouth opens, push gently with your left palm on baby’s head to help them latch on. Make sure you keep your fingers out of the way.
  5. Reverse for the left breast.

This hold is useful when:

CLUTCH OR “FOOTBALL” HOLD

Clutch or “Football” Hold

  1. For the right breast, hold your baby level, facing up, at your right side.
  2. Put your baby’s head near your right nipple and support their back and legs under your right arm.
  3. Hold the base of your baby’s head with your right palm. A pillow underneath your right arm can help support your baby’s weight.
  4. To protect your back, avoid leaning down to your baby. Bring baby to you instead.
  5. Reverse for the left breast.

This hold is useful when:

CRADLE HOLD

Cradle Hold

  1. For the right breast, cradle your baby with your right arm. Your baby will be on their left side across your lap, facing you at nipple level.
  2. Your baby’s head will rest on your right forearm with your baby’s back along your inner arm and palm.
  3. Turn your baby’s tummy toward your tummy. Your left hand is free to support your breast, if needed. Pillows can help support your arm and elbow.
  4. To protect your back, avoid leaning down to your baby. Instead, bring your baby to you.
  5. Reverse for the left breast.

This hold is useful when:

Laid-Back Hold

Laid-Back Hold

  1. Lean back on a pillow with your baby’s tummy touching yours and their head at breast level. Some moms find that sitting up nearly straight works well. Others prefer to lean back and lie almost flat.
  2. You can place your baby’s cheek near your breast, or you may want to use one hand to hold your breast near your baby. It’s up to you and what you think feels best.
  3. Your baby will naturally find your nipple, latch, and begin to suckle.

This hold is useful when: